
Site
A Site groups Home and its child Pages into a website you can publish together. Use it to set the shared Design System, languages, domains and incoming links for those Pages.
How a Site works
A Site saves its General settings, selected Pages and publication history. You build visible content in the Page's Story editor, reuse saved Components and embed saved Vizzes. Publish creates a version of Home and its child Pages from their saved settings.
Editing a draft or opening Preview leaves the current publication in place. Publish again when the reviewed changes should appear for visitors. Set individual Page titles and descriptions in Head.
Create and open a Site
A new Site includes Home. Put additional Pages below Home so Site Publish includes them.
- Open an Organizer folder's menu and choose Create → Site.
- Rename the new Site to a useful name. A new Site includes Home.
- Select the Site in Organizer. Its settings list contains General, Incoming Requests, Domains and Versions.
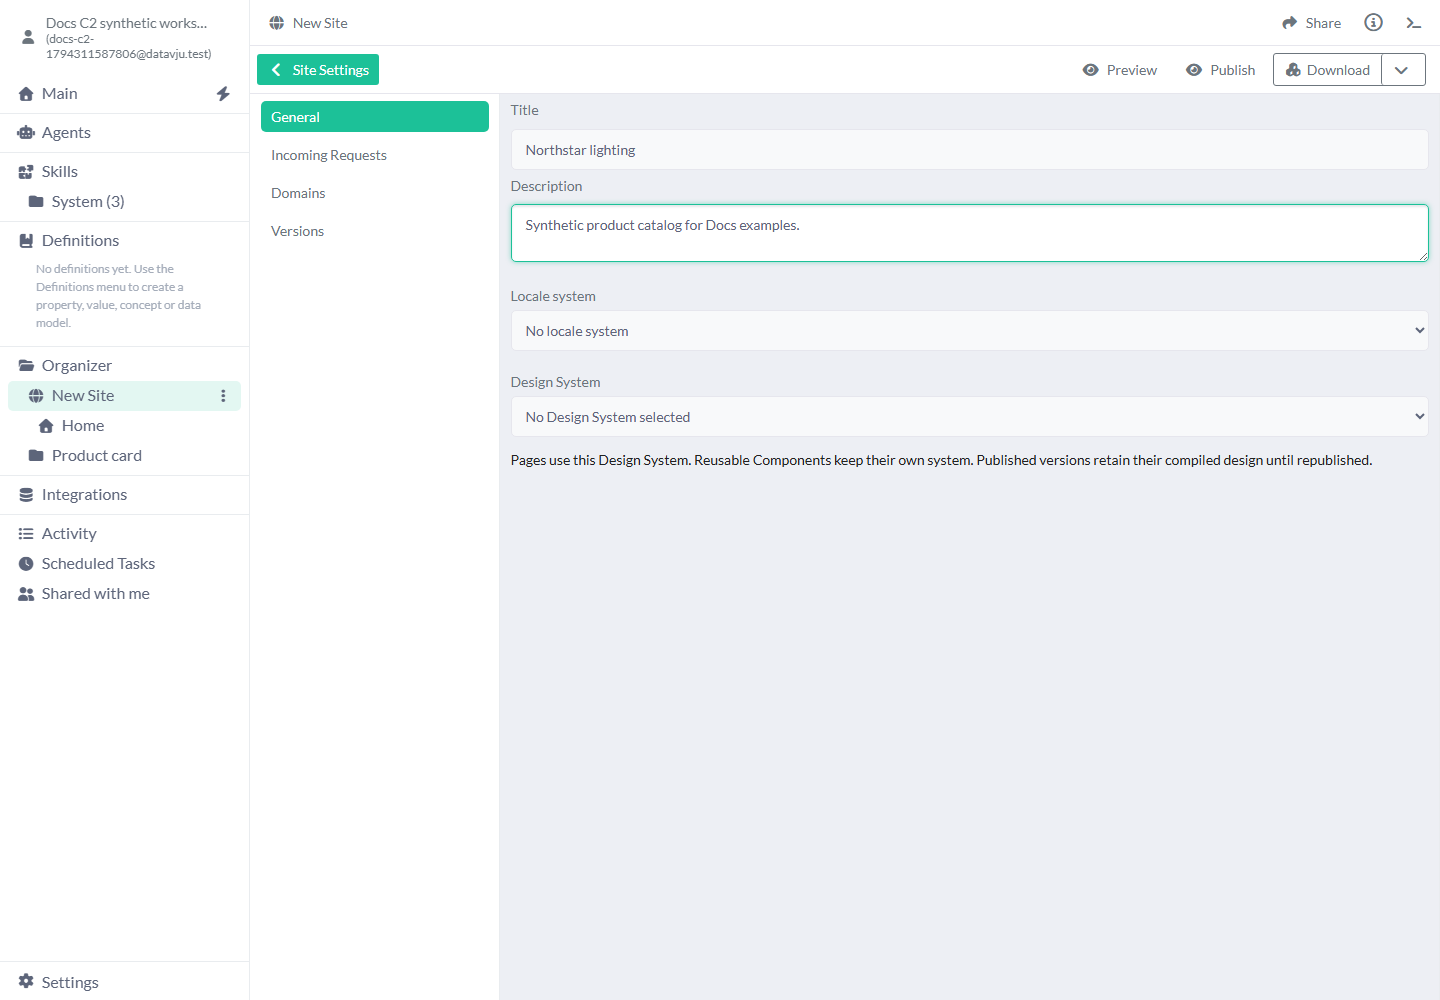
- Open General. Enter Title Northstar lighting and Description Synthetic product catalog for Docs examples.
- Open Home to build its content. Create other Pages under Home so they are included with the Site.
General settings
These settings apply to the Site; each Page keeps its own browser title and metadata in Head.
Changes save automatically. Wait for saving to finish before closing. Publish after changing a Design System selection, language selection or content that must update for visitors.
- Title: starts with the new Site's title. Enter a readable name for the Site, such as Northstar lighting. Set the browser title separately on each Page.
- Description: starts empty. Describe the Site for people maintaining it. Example: Product catalog and lighting guide.
- Locale system: None until you choose one. Select the Locale system that contains your text messages and languages. The default language is always included at the root address; other selected languages use their lowercase language tag in the path.
- Design System: unset until selected. Choose the saved Design System used by the Site's Pages. Reusable Components can keep their own Design System. Use the Design System guide to define fonts, colors, spacing and breakpoints first.
Add an Incoming Request
An Incoming Request defines how a Site address reads query values and opens a chosen Page. Use it to prepare a personalized Page, such as Home displaying the name in ?name=Ada. Publishing a Site with Incoming Requests isn't available yet.
Preview can read request values when the request Path matches the Page's own Site path. Home's path is /. An alternate path such as /welcome does not match Home Preview.
- Open Incoming Requests and choose Add Incoming Request.
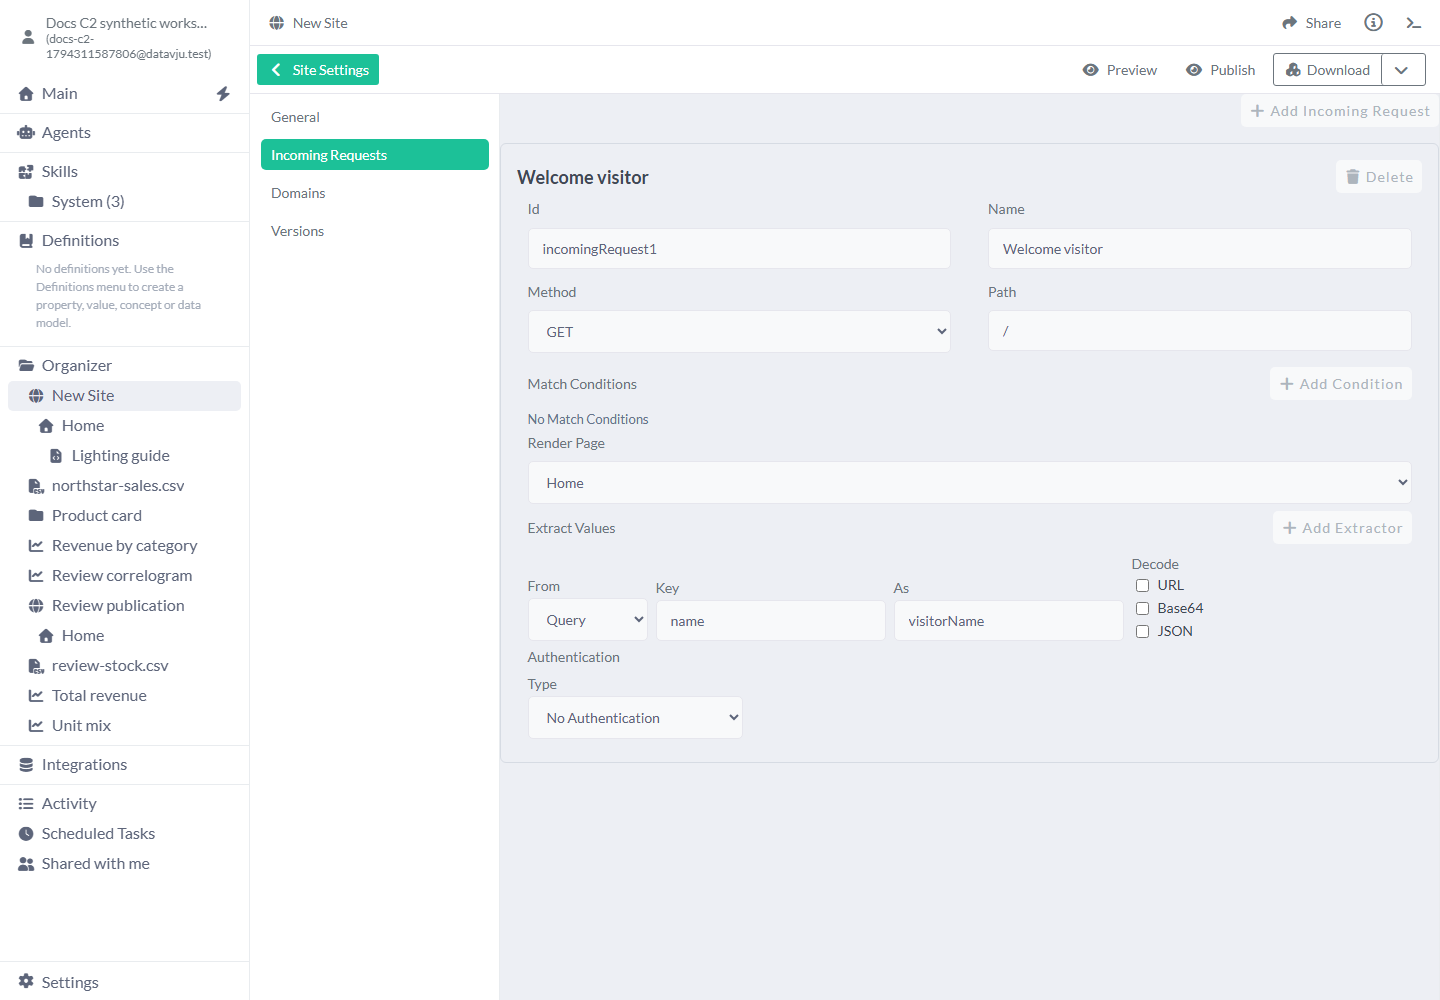
- Give it a useful Name, such as Welcome visitor. Keep its generated Id unless you need a different name for the request's data.
- Keep Method as GET. Enter / in Path to match Home.
- Select the intended Render Page, such as Home.
- Under Extract Values, keep From as Query. Set Key to name and As to visitorName. Leave Decode unselected for ordinary text.
- Select a Plain Text element in Home, enable Data Settings and choose Add System Dataset → Incoming Requests. Bind Text through the data picker, selecting this request's Id and visitorName within Incoming Requests.
- Open Home's Preview and keep its generated URL. Append ?name=Ada, or &name=Ada if it already has query parameters.
- Check that the bound text shows Ada. Change the query value to Bo and reload to check a second name.
Incoming Request settings
Requests are checked in their saved order; the first matching request runs. With no matching request, the normal Page at that path opens with empty Incoming Requests data. After a request has matched, an extraction or authentication error stops that request and shows its error.
On multilingual Sites, enter each exact request path, for example /en-gb/welcome. Request paths are published as entered; selecting languages does not create extra translated request addresses.
- Id: generated for a new request. It is the name you select when binding request values on a Page. Choose a stable, recognizable value before creating those bindings.
- Name: the label in this settings list. Change it to help you distinguish requests.
- Method: GET is the supported method. Use it for browser links with query parameters.
- Path: a generated path beginning with / is supplied. Replace it with the exact path you intend to use. Keep the query string out of this field.
- Match Conditions: no extra conditions are required initially. Add a query-key condition when the request should run only if that key exists. An empty value still counts as an existing key. For example, a token key can distinguish a sign-in link from an ordinary visit to the same Page.
- Render Page: the initial eligible Page is selected. Choose the Page this request should open from within the current Site.
- From → Query: read a named Key from the URL. As renames the output; leaving it empty uses the key's name.
- Decode: initially empty. Select URL, Base64 and/or JSON only when the supplied value needs those conversions. They run in that order. For example, JSON converts an encoded object into values you can select by path.
- From → Extracted: read from an earlier extracted value. Choose Source, enter a dot-separated Path such as customer.name and set As for the new value's name.
- Authentication: starts at No Authentication. Choose Dataset Authentication only when this incoming link should establish the configured Dataset session before opening its Page.
- Remove controls: delete the intended match condition, extracted value or request from the saved configuration.
Dataset Authentication for incoming links
Choose the people Dataset, Dataset User Id Column and extracted Incoming User Value. The person key must match the key used by your other sign-in and user relationships. Session Field Mapping lets you expose selected readable fields, such as Name as displayName, to the Page's User Information data.
For a sign-in credential, configure Token hash field, Token issued at and Token used at. The hash is stored in a String field; the two times use stored DateTime fields. A sign-in token lasts 15 minutes and can be used once. Opening the link shows Continue; the person selects Continue to sign in. Successful sign-in removes the credential query value from the address.
No sign-in token matches the incoming value directly to the person key. This identifies a record; it does not prove that the visitor received a private link. Choose a sign-in token when that proof is required.
To offer a replacement link, set Expired or used link page path to your email-request Page. Select Sign-in link email field, Sign-in link mail connection and the email subject. If your Mail setup sends messages from a separate Table, select that Table in Sign-in mail source Table. Add person field copies a person value into that Table; Add fixed value supplies an ordinary required value. Keep generated keys and server-supplied values on their configured fields.
Configure the email Form and its Mail connection before enabling recovery. Each client can request ten links per fifteen minutes; each recipient can receive one replacement per minute. The public acknowledgement is the same for known, unknown and throttled recipients. A replacement revokes the earlier link. Set the email Form to URL, Post and optional AJAX. Use /public/datasets/<people-dataset-id>/incoming-request-link on the Site API address, with incomingRequestId and the query-free sign-in Page URL as pageUrl query parameters. Add an Email input named email and a Hidden input named datasetUserIdColumn with the selected person-key field's key. The person must receive and confirm the replacement email before signing in.
Choose a domain
A custom domain appears in Domains once saved. Delete Custom Domain clears that custom-domain setting. Domain setup uses the domain service and your DNS configuration; check the destination before changing an existing domain.
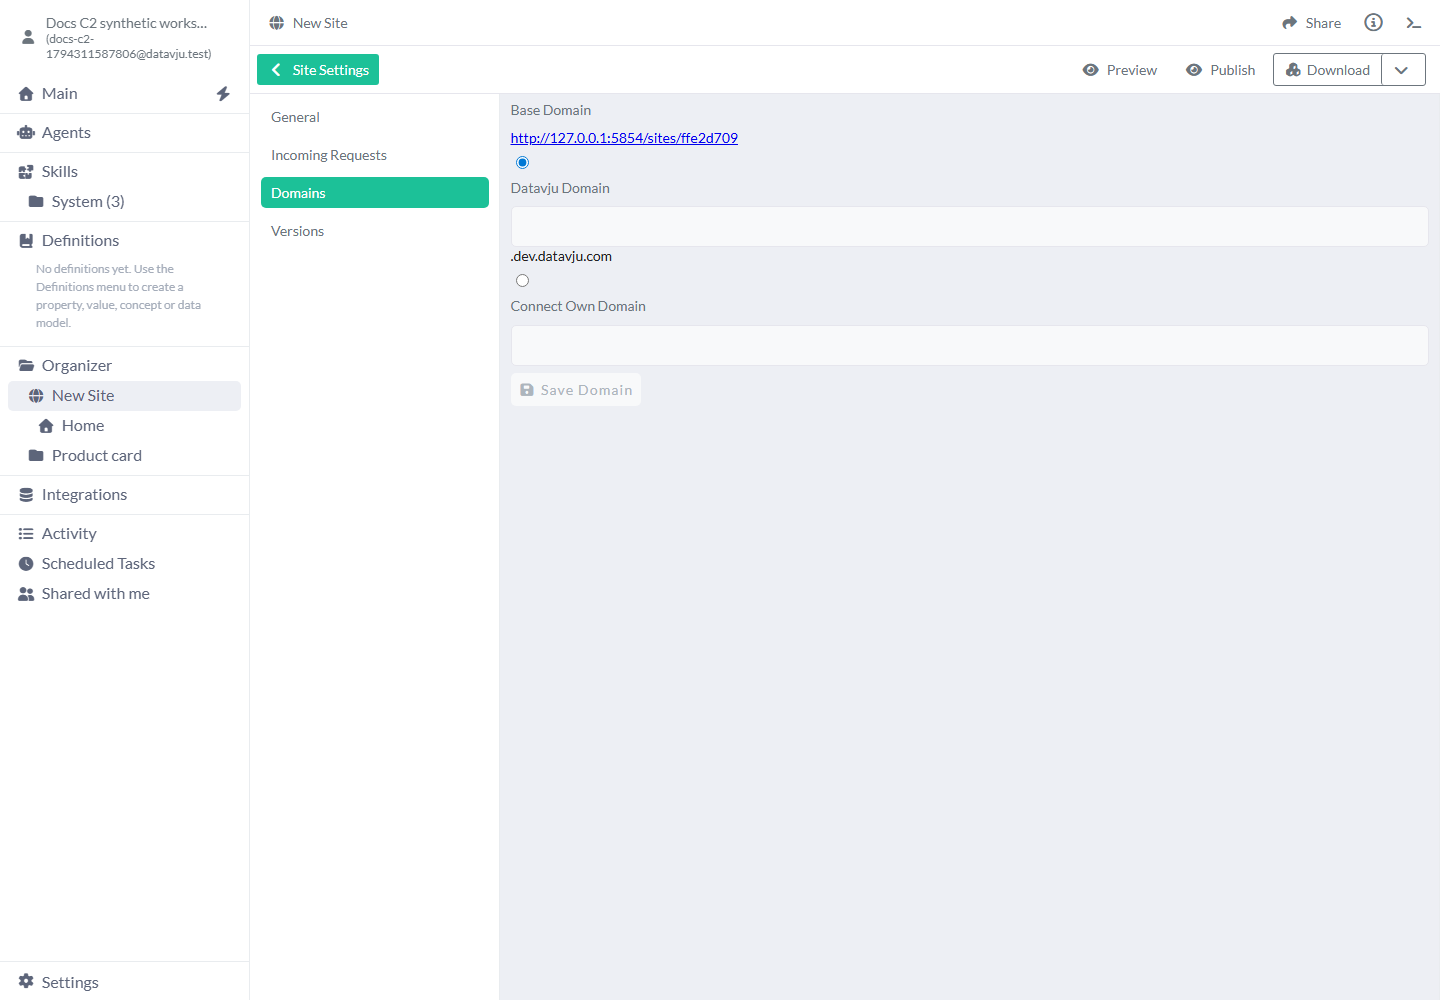
- Open Domains and review the Base Domain link.
- Choose Datavju Domain for a Datavju subdomain, or Connect Own Domain for a domain you own.
- Enter the intended domain and choose Save Domain.
- Resolve any availability error shown on the input before continuing.
- After publication, use Base Domain to open the currently published Site.
Publish and inspect the result
Use this procedure for a Site with no Incoming Requests.
The Site needs exactly one direct Home Page; the other Pages belong below Home. Versions lists publication information. Use Domains to open the current version. Activity records a completed Site publication and can reopen the Site workspace.
- Open each Page's Preview and check content, links, data and interactions. Use Prerender to check generated HTML where needed.
- Select the Site in Organizer and choose Publish.
- Wait for publication to finish. Open Versions to see the new entry.
- Open Domains and follow Base Domain to the current Site.
- Check Home and child Pages with the visitor access you intend to support.
- After another saved change, publish again to update the public version.
Download or snapshot a Site Model
Open Download and choose Download Model to export an editable .site.mdl file. Create Model Snapshot saves a snapshot of the current Site. These actions use the draft's current state; they do not publish it.
Model Advanced Options lets you choose Download or Create Model Snapshot and review included resources. Required resources stay selected. Tables start with all rows included; clear a Table's row choice to include its schema without rows. Resource placement starts at Inside the folder, keeping resources together. Choose The same location (recreate the folder path) when the recipient should receive the saved folder paths. Reopening starts with all Table rows included again.
A direct Site export includes its supported dependencies. Export the containing Folder when you also need supported connections, Skills, Integrations, Agents or other attachments. Review the contents and recipient settings before sharing a Model.
Examples
Publish a catalog, preview a personalized greeting, or export its design as a Model.
Example: publish a small product catalog
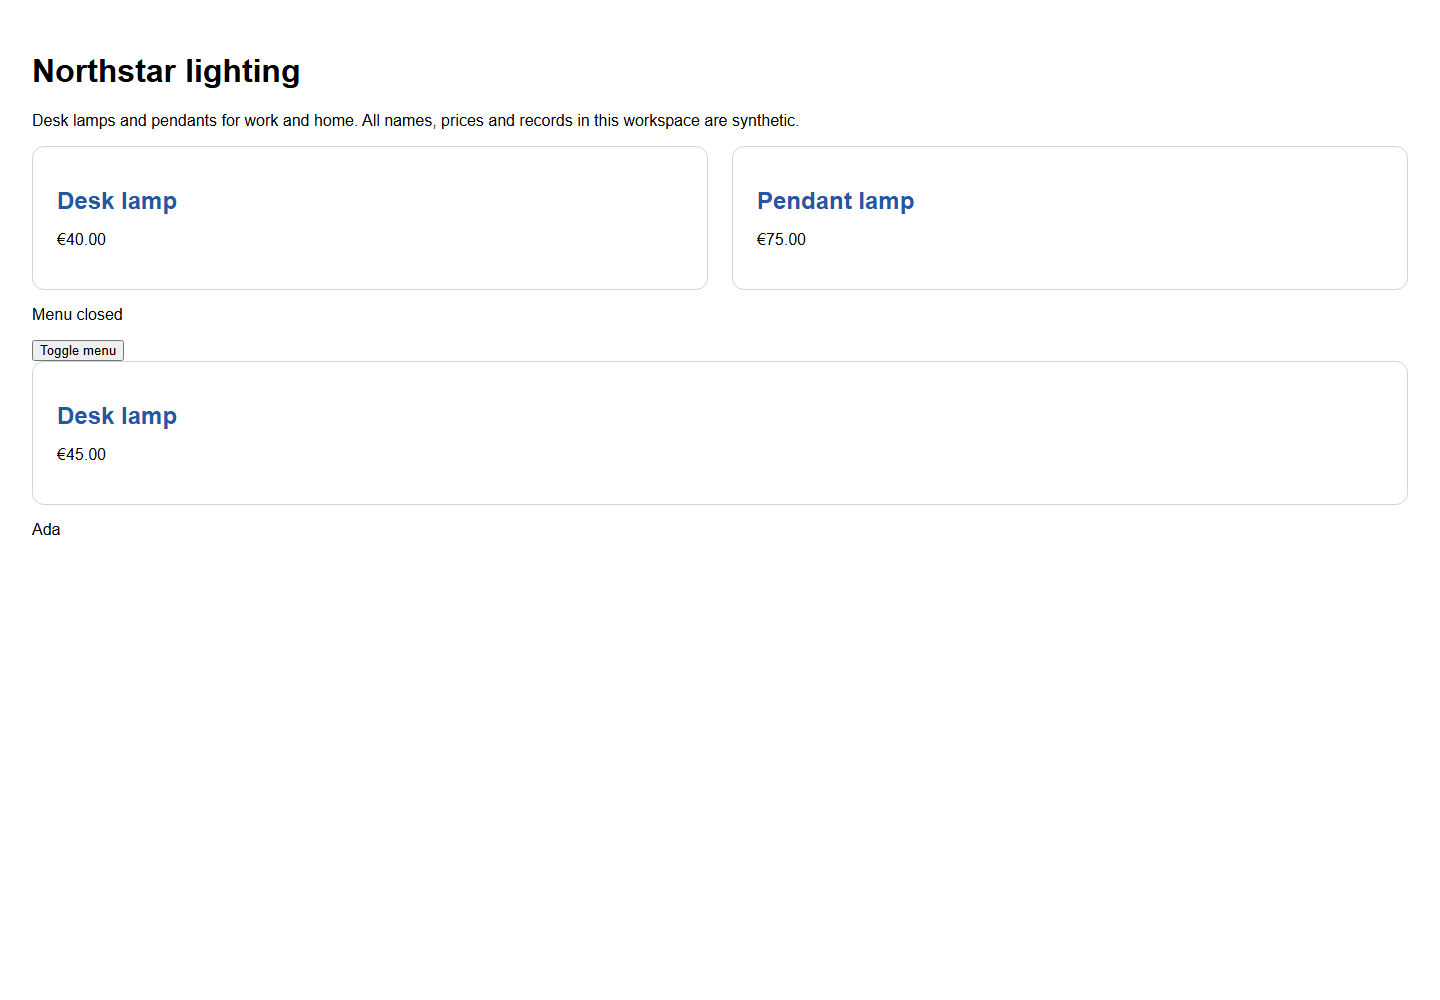
Create Northstar lighting with Home and a child Lighting guide. Home shows Desk lamp / €40.00 and Pendant lamp / €75.00; Lighting guide explains which product to choose and links back to Home. Preview both Pages, publish the Site and open Base Domain. The two Pages form one published website.
Example: a personalized welcome link
Configure Welcome visitor at / with Query Key name, As visitorName and Home as Render Page. Bind a Plain Text property to that Incoming Requests value. Open Home's generated Preview URL and append ?name=Ada, or &name=Ada if needed. The bound text shows Ada. Change name to Bo and reload to show Bo. The extracted values belong to the visit; the configured key and Page are what the Site saves.
Example: omit sample product records from a Model
Use a Products Table with a product Text field and two records: Desk lamp and Pendant lamp. In Home, select a Div, choose Show Data Settings → Add Dataset and select Products. Wait for saving to finish. That Table now appears in the Site's Model Advanced Options.
Clear Include rows for Products, then choose Download. The Model contains the Table's product field and zero product records; the original Table still has its two records. Keep that row choice checked to include Desk lamp and Pendant lamp in the download. Fixed text on your Pages remains part of the design in either case.
Limits and common mistakes
Preview checks a draft; publishing updates the Site address that visitors open.
- Open the individual Page's Preview to check its content and interactions. Site toolbar Preview is not available yet.
- Publish after editing Pages or languages so their public addresses and output update.
- Incoming Requests support exact GET paths and browser-visible query values. Use another supported service for POST webhooks, raw bodies or request headers.
- Treat query values as visitor input. Decoding Base64 or JSON makes the value readable; it does not prove who sent it.
- Keep private fields out of the Page's public data selection. Configure actual sign-in and Dataset access for restricted content.
- Check compiled Pages after source or Viz changes and republish the affected output.
Related articles
Page · Story · Component · Page metadata · Design System · Dataset