
Page
A Page is a complete screen that you can preview or publish in Datavju. Use it for a website page, a data-backed catalog or an App screen, and build its content in the Story editor.
How Pages work
A Page saves its elements, text, data connections, Styles, States and events. A Site groups Home and its child Pages into one publication. Reusable Components supply pieces of those Pages; Viz supplies charts you can embed. Folder Assistant, Folder Command and Main Command can configure native local variables, property-variable bindings and component States. The Assistant opened on a Page keeps those edits on that Page. Assistants compose interactive Pages through native elements, data connections and events in separate steps. A whole-Page AI layout edit returns the complete supported HTML/CSS content; it does not configure data or interactions. A proposal that exceeds its response limit is not applied.
A Page can show fixed content or read a Dataset, meaning a Table or saved result. A Page Dataset can generate a separate Page for each selected record. Draft edits save automatically; Preview, Prerender and Publish use those saved settings for different purposes.
Create a Page under a Site
Keep the Site's additional Pages below Home in Organizer.
Create child Pages under Home so the Site's publication includes them. For a standalone Page, use Create → Page in an Organizer folder; it has its own publication controls.
Create → Page also works below an existing Page. Folder Assistant/Command can select that same Page as parent. The focused Folder is a placement default; your current editing access still applies.
- In Organizer, create or open the Site you want to work on. A new Site creates Home.
- Open Home's menu and choose Create → Page. Rename the new Page Lighting guide.
- Open it and choose Components. Select Body, then insert a Paragraph with a Plain Text child.
- Enter Choose a desk lamp for a focused workspace, or a pendant for shared lighting.
- Add the layout settings you need, then open Preview to read the draft.
Link to another Page
Use the Page picker so Datavju can resolve the destination address.
- Select Body and insert a Link. Insert Plain Text inside it and enter Back to catalog.
- Select the Link. In Hyperlink, set Point to to Another Page.
- Choose Select Page, then select Home.
- Open Preview and follow Back to catalog. It opens the selected Home Page.
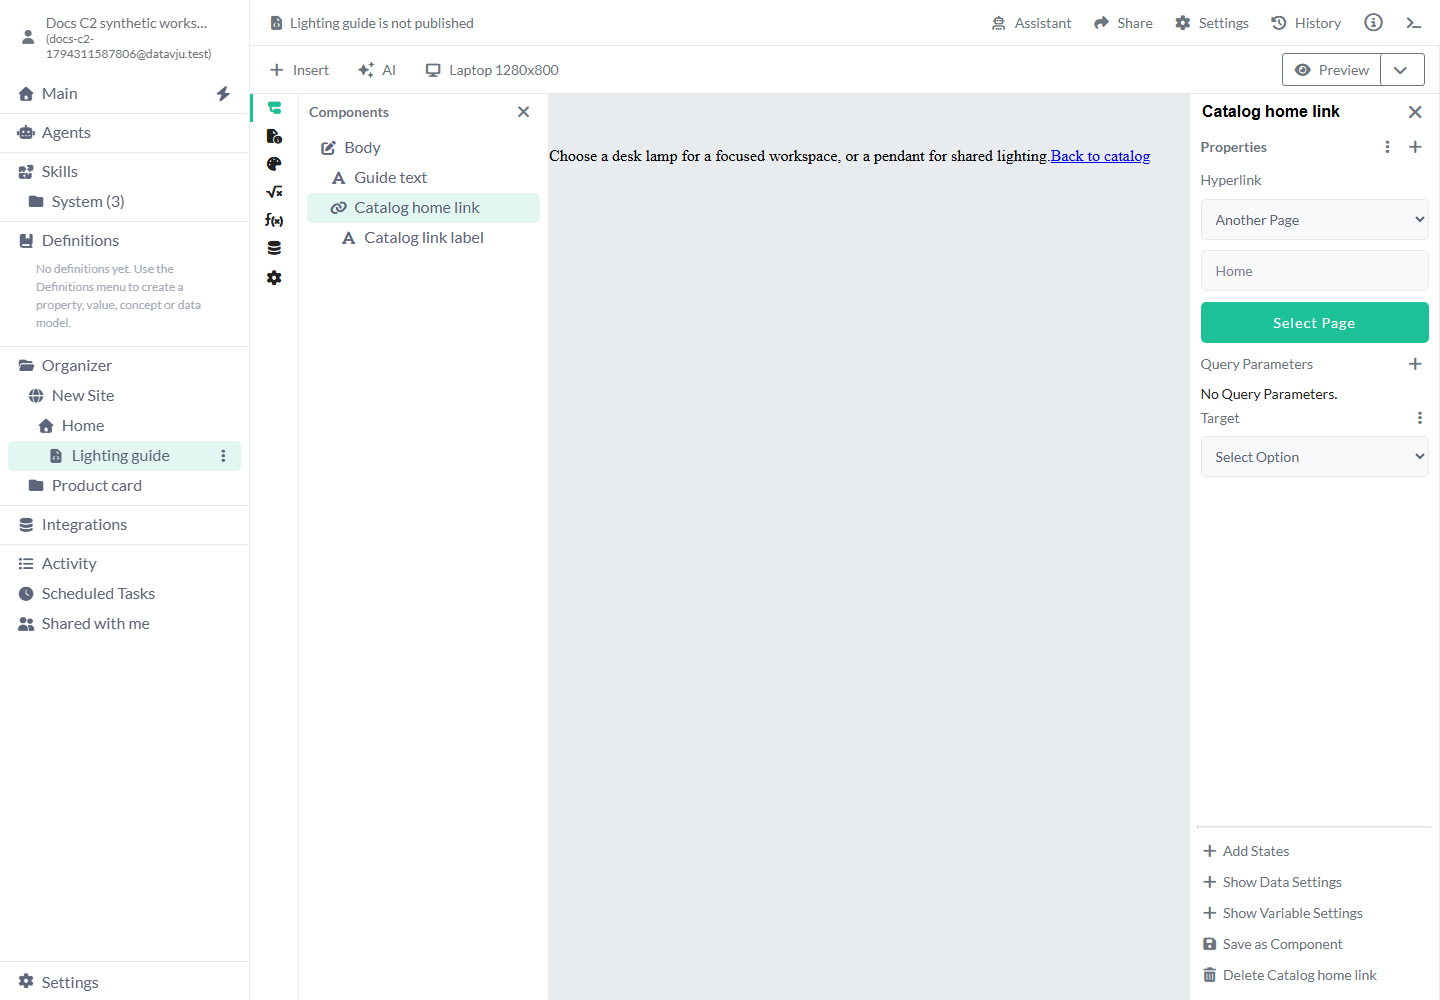
Hyperlink settings
Body Links can open another Page, an external address or an uploaded file. Head document links use Href.
- URL: enter a complete web address, such as https://northstar.example/lighting. Use it for an external destination.
- Site path: enable Show Data Settings and bind Hyperlink to a Text column containing paths such as /lighting-guide. The Site adds its language prefix. Use Another Page and its picker for a fixed Page destination.
- Another Page: choose Select Page and pick the saved Page. Datavju resolves its current preview or published address.
- Page in Dataset: enable Show Data Settings and bind Hyperlink to a column containing the destination Page's Organizer Id, the identifier of its saved Organizer item. Use Another Page with a selected Page and a bound Page-name field for links to that Page's individual records.
- Section in Page: choose the Page and section target for an in-page jump. Make sure the destination section has the required identifier.
- Email Address and Phone Number: these choices are not available yet.
- File: upload the file the Link should open. Inspect the saved address after the upload.
- Query Parameters: add named values when the destination needs them. For example, source=catalog identifies a campaign link. Keep private information out of URLs.
- Target: unset uses the current browsing context. Self uses the same frame, Blank opens a new tab or window, Parent uses the parent frame, and Top uses the top-level window.
Choose a Page Dataset
Keep names distinct after path formatting. Letter case, accents, punctuation and spaces can produce the same final path. The Public setting controls the Dataset's published use; select only the fields and records intended for visitors. Keep private editing and write access configured on their actual Tables.
- Open Datasets in the Story sidebar.
- In Page Dataset, choose Add Dataset and select the Table or saved result.
- Choose Column for Page Name. Use a field with a readable, unique name for each record.
- Use the row navigator to inspect several records and their text bindings.
- Check the generated paths before publication. Use Publish Dataset Page to publish the selected record's Page; publish the Site to generate a Page for every record in its Page Dataset.
Page Dataset settings
A new Page has no Page Dataset. After Add Dataset, the row navigator starts at the first row. Column for Page Name starts unselected; choose the field that should supply the record's Page name. Public starts off. Enable it only for the data you intend the publication to expose, then inspect several records and their generated names.
Remove clears the Page Dataset and its matching property data bindings. Re-select the intended source and fields if the Page should read a different Dataset.
For a create-and-open workflow, a Dataset Form can select On Form Success → Redirect to Page and Append Created Primary Key To Redirect URL. The accepted key becomes query parameters named after its column ids. Configure the destination to read that key. This does not create an arbitrary path parameter. Follow Interactions for current Form and Session limits.
Restrict Page access
Open Settings. Requires Authentication starts off; turn it on when visitors must sign in. Authentication Type starts unselected and offers API Authentication or Dataset Authentication. Choose the configured service matching your sign-in flow. Unauthorized Route starts empty; enter the destination for visitors who cannot access this Page.
Configure and test the sign-in Page before requiring it on another Page. Dataset Authentication uses the selected people Dataset and session settings. API Authentication uses the configured API sign-in service. Check both a permitted visitor and an unauthenticated visit after publication. A State that hides content changes its appearance; set Page and Dataset access separately.
Assistants and MCP can inspect and configure the same Page authentication requirement and Unauthorized Route. Turning it on does not create a sign-in service or grant access to Dataset rows.
Embed a Viz
Create the chart in Viz first, then select it on the Page.
- Select the parent that should contain the chart and insert Viz.
- In its settings, use Select Viz and choose the saved chart.
- Set the surrounding element's layout and inspect the chart in Preview.
- When the chart changes, check the Page again. Prerender or publish again to refresh generated HTML.
Preview and publication controls
Choose the output action that matches the result you want to inspect or share.
- Preview opens the interactive draft. Use it to check links, data, focus and events.
- Prerender generates an HTML preview. Use it to inspect the content and interactions in generated output.
- Publish creates a published version. For a Page inside a Site, use Site Publish when the full group of Pages should update.
- Publish Dataset Page publishes the currently selected Page Dataset record. Check the row navigator first.
- Unpublish Page withdraws the selected Page's published output and keeps its draft available in the editor.
- Download Model exports the Page and its supported dependencies as an editable Model.
- Published Page opens the Page's current published address when one is available.
- Settings includes available authentication and Publication languages. A Site supplies its selected languages to its Pages. Translate Page text through a Locale system before publishing languages.
- Head sets the browser title, description and document links for this Page. Use the Page metadata guide rather than expecting the Site's Title to fill every browser title.
Examples
Home and Lighting guide form a small catalog; Home can also display a saved revenue chart.
Example: a two-page catalog
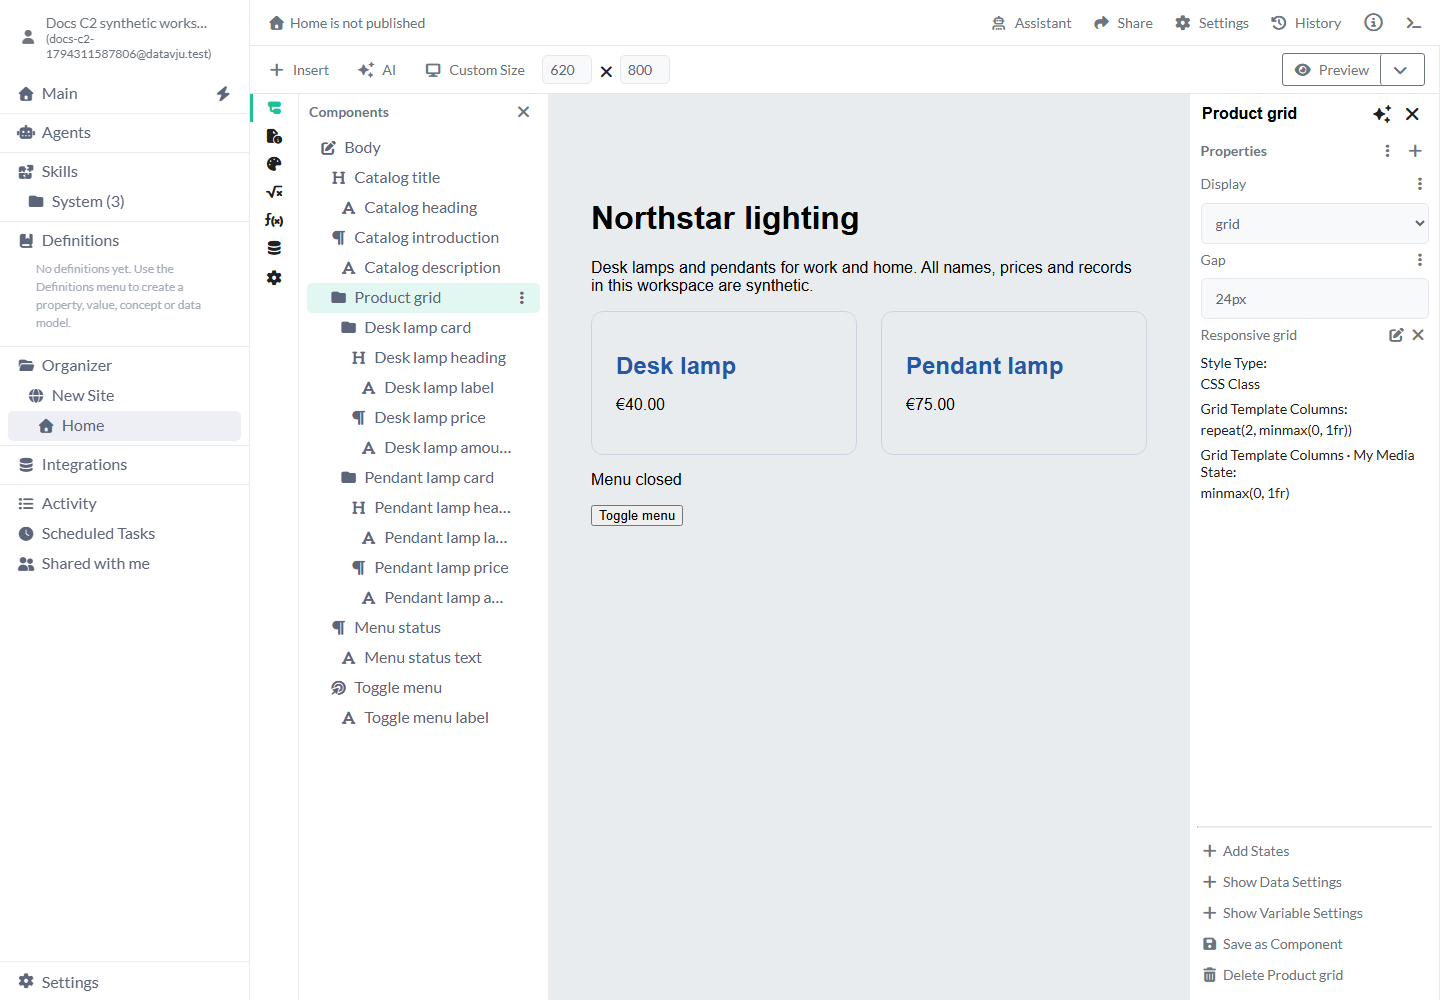
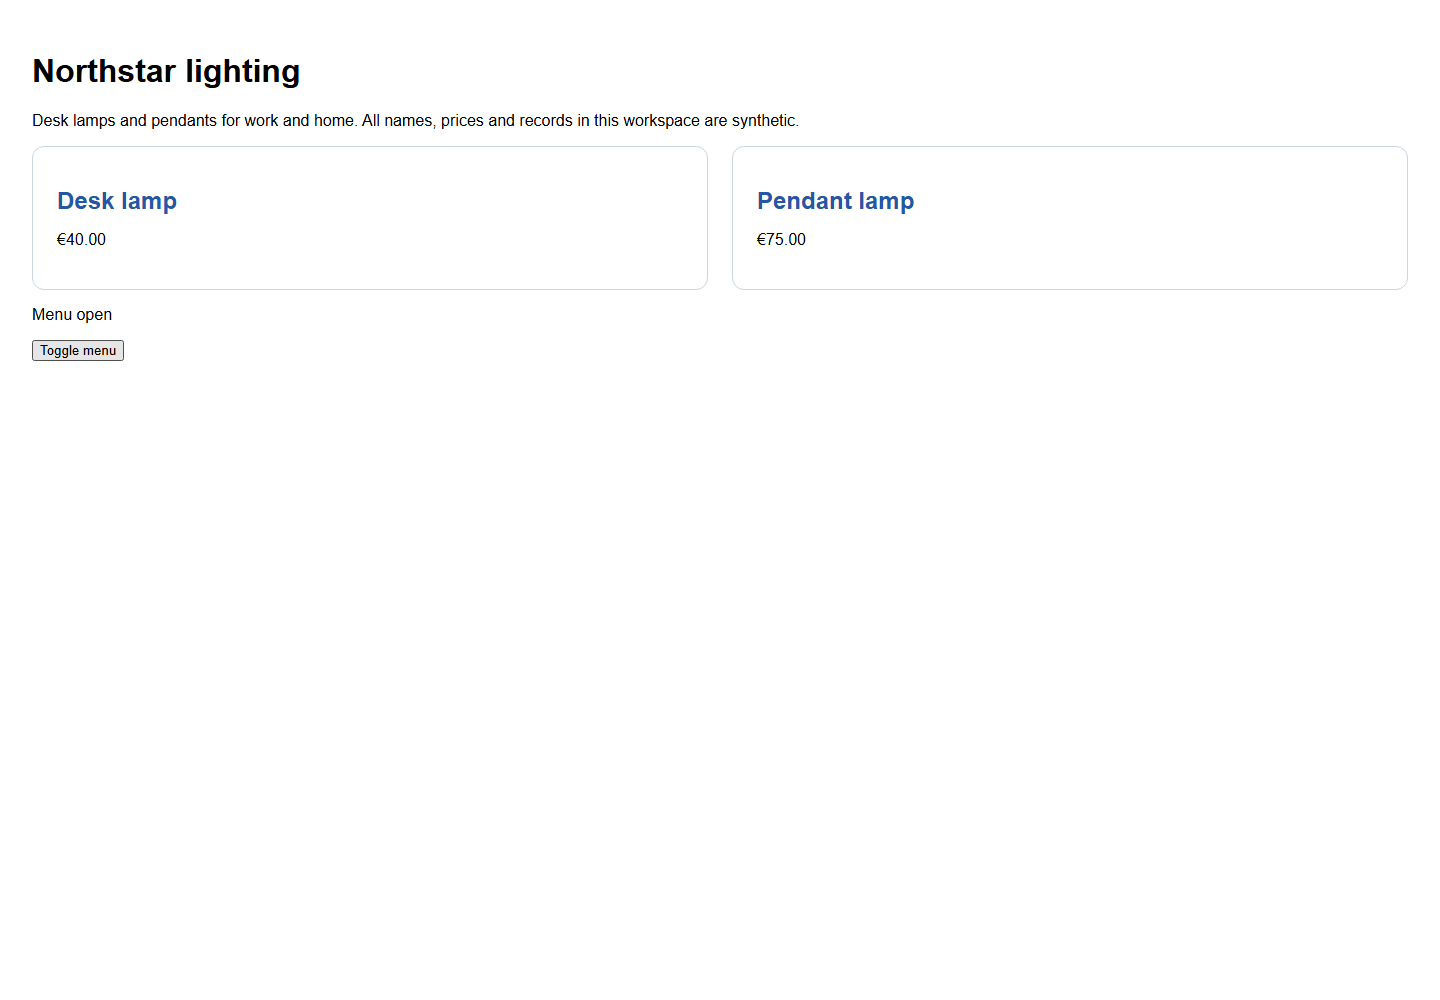
Home shows Desk lamp / €40.00 and Pendant lamp / €75.00. Create Lighting guide under Home and add the product-selection paragraph above. Add Back to catalog with Another Page → Home. Preview the link to check the complete route between the two Pages.
Example: embed revenue beside the catalog
Create a Viz using Category and Revenue rows: Desk lamps / 1200, Pendants / 2250 and Accessories / 550. Insert that saved Viz into Home. The Page shows the same category chart; changing its presentation in Viz updates the interactive draft. Generate and review a new publication when the public Page should show the updated chart.
Limits and common mistakes
Links, record paths and visitor access need checking alongside the visible design.
- Choose the correct Page in the link picker. A typed title alone does not create a destination.
- Keep exactly one direct Home Page under a Site and put its other Pages below Home.
- Use distinct Page Dataset names and inspect the resulting paths before publishing.
- Preview uses the draft and your current access. Check the published Page with the intended visitor access after publication.
- A Form needs an actual writable Table, mapped fields and configured success/failure behavior. Follow the Interactions guide before collecting real submissions.
Related articles
Story · Site · Component · Viz · Page metadata · Interactions