
Models
Use a Model to take a saved setup of data, Pages and optional Agents to another workspace. Open its Folder to download a Model file or create a Snapshot link, then import it where you want to use the setup.
What travels in a Model
Your Model includes the Folder’s contents and the sources they need. In Model Advanced Options, you can add resources, choose which Tables include records and include Definitions, Skills, connections or an Agents Folder.
Download gives you a .mdl file. Create Model Snapshot saves a copy you can load through its link. After import, review the new Folder, data and settings before running Agents or publishing a Site.
Download a Folder Model
Open the Folder that contains the setup you want to reuse.
- Open the Folder in Organizer.
- Choose Download Model in its toolbar and save the .mdl file.
- For explicit choices, open the arrow beside Download Model and choose Model Advanced Options.
- Review the Folder, resource placement, included rows and attachments described below.
- Choose Download.
Model Summary for AI
Choose Model Summary for AI from the same arrow menu to download a JSON description of the Folder’s setup for an AI client. Choose Download Model when you want to import the setup into another workspace.
Advanced options
Choose what the destination workspace should receive. The original items stay in your source workspace.
- Download / Create Model Snapshot - Download initially. Choose Create Model Snapshot if you want a saved load link; the final button becomes Create Snapshot.
- Selected Organizer folder - Check that you opened the intended Folder before exporting.
- Inside the folder - Selected initially. Put required and added resources inside the imported Model Folder.
- The same location (recreate the folder path) - Recreate the included resources’ original Organizer paths when those locations matter to your setup.
- Resources - Folder contents and required sources are already selected and locked. Keep them included so the imported tools can find their inputs.
- Find resources / Add - Search by name or path and Add another item. Adding a Folder includes its contents. Parent Folders added only to preserve a path do not bring unrelated siblings.
- Include rows for … - On initially for included Tables. Clear it when you want an empty Table with the same fields, keys and relationships. For example, keep supplier records and clear old review results.
- Include Agents folder - Off initially. Enable it, then choose the Agents folder and its children you want to include. Check the resources those Agents need.
- Definitions - No optional selection initially. Choose the terms or data-model agreements to include. Their required connected Tables are included too; include every linked agreement needed by the setup.
- Skills - Select saved user Skills to include. Skills selected by included Agents come along automatically. Clear a Skill’s linked integration before exporting it through this flow.
- HTTP, Mail and Stripe connections - No optional connection selected initially. Include the connection definitions you want recipients to set up with their own credentials. Imported connections start disabled and untested.
- Cancel - Close without exporting. Reopening starts with this Folder’s initial selections.
Import a Model file
Choose the destination Folder in the workspace where you want to use the Model.
- Open the destination’s three-dot menu in Organizer.
- Choose File Upload → Model and select the .mdl file.
- Complete the required choices in the dialog described below.
- Leave Reuse existing Tables off to make new Tables, or explicitly choose each compatible existing Table when reuse is intended.
- Choose Import Model.
- Read the report, then open the imported Folder and Definitions. Review the Tables, records and Pages before using them.
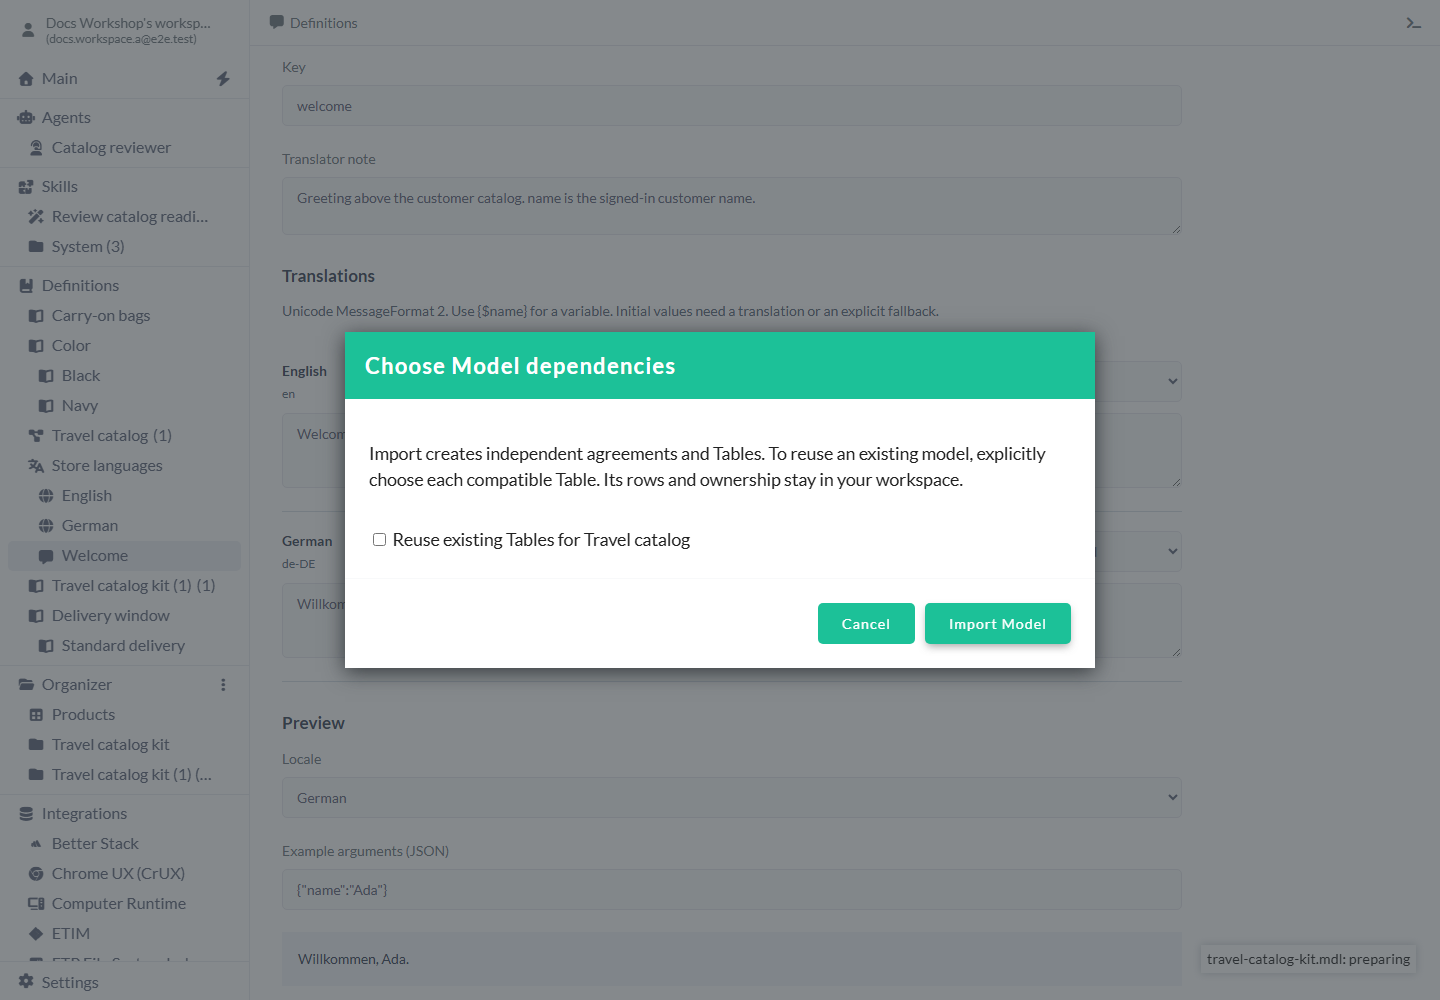
Leave reuse off when you want a separate copy.
Import choices
You see the sections needed by this Model. Complete each required choice before importing.
- Installed Model to update - Create an independent copy initially, when installed targets are offered. Select the existing Model only when you want to update it; the final button becomes Update Model.
- Reuse existing Tables for … - Off initially. Enable it to use an existing model’s compatible Tables, then choose every Table for … entry. Your existing records and ownership are kept.
- Share for … - Choose a current readable Share for each source. The source owner keeps those records. Previously chosen Shares are shown when available and checked again.
- Agent for … - No choice initially. Select a saved Agent or Agent this import creates for each Form. After import, review the Agent’s limits before enabling the Form binding.
- Workspace credential for … - Choose an existing compatible credential from this workspace. Any previous choice is checked again before import.
- Named connection configuration fields - Fill required endpoint/account details. Enter passwords, tokens and API keys in the Integration’s credential controls.
- Agent connection for … - Choose the exact connection each included Agent may use, or Connection this import creates when offered. Choose its workspace credential separately above.
- Cancel - Leave the chooser without confirming import.
Update an installed Model deliberately
Choose an installed target only when you want its setup updated. For a supported Site update, the Site keeps its address, current publication, business records and existing connections. Included records update by their complete key; records left out of the package remain.
- Upload the newer Model or open its Snapshot link.
- In Installed Model to update, choose the exact existing target.
- Review the displayed choices, then choose Update Model.
- Read the report and review the updated draft. For a Site, choose Publish when you are ready for visitors to receive it.
Catalog fields in the example
In this example, Travel catalog describes a Products Table with these fields.
- SKU - Required String. Each product has a unique code; this is the primary key.
- Name - String product name.
- Price - Money amount with currency.
Example: reuse a catalog structure
Take this catalog structure to another workspace. After import, you get your own Products Table and a copy of the agreement connected to it.
- Open Travel catalog kit → Model Advanced Options.
- Select Travel catalog under Definitions. Products is included as a required Table.
- Choose Download, then upload the file in the destination through File Upload → Model.
- Leave Reuse existing Tables off and choose Import Model. Open the reported Folder and agreement.
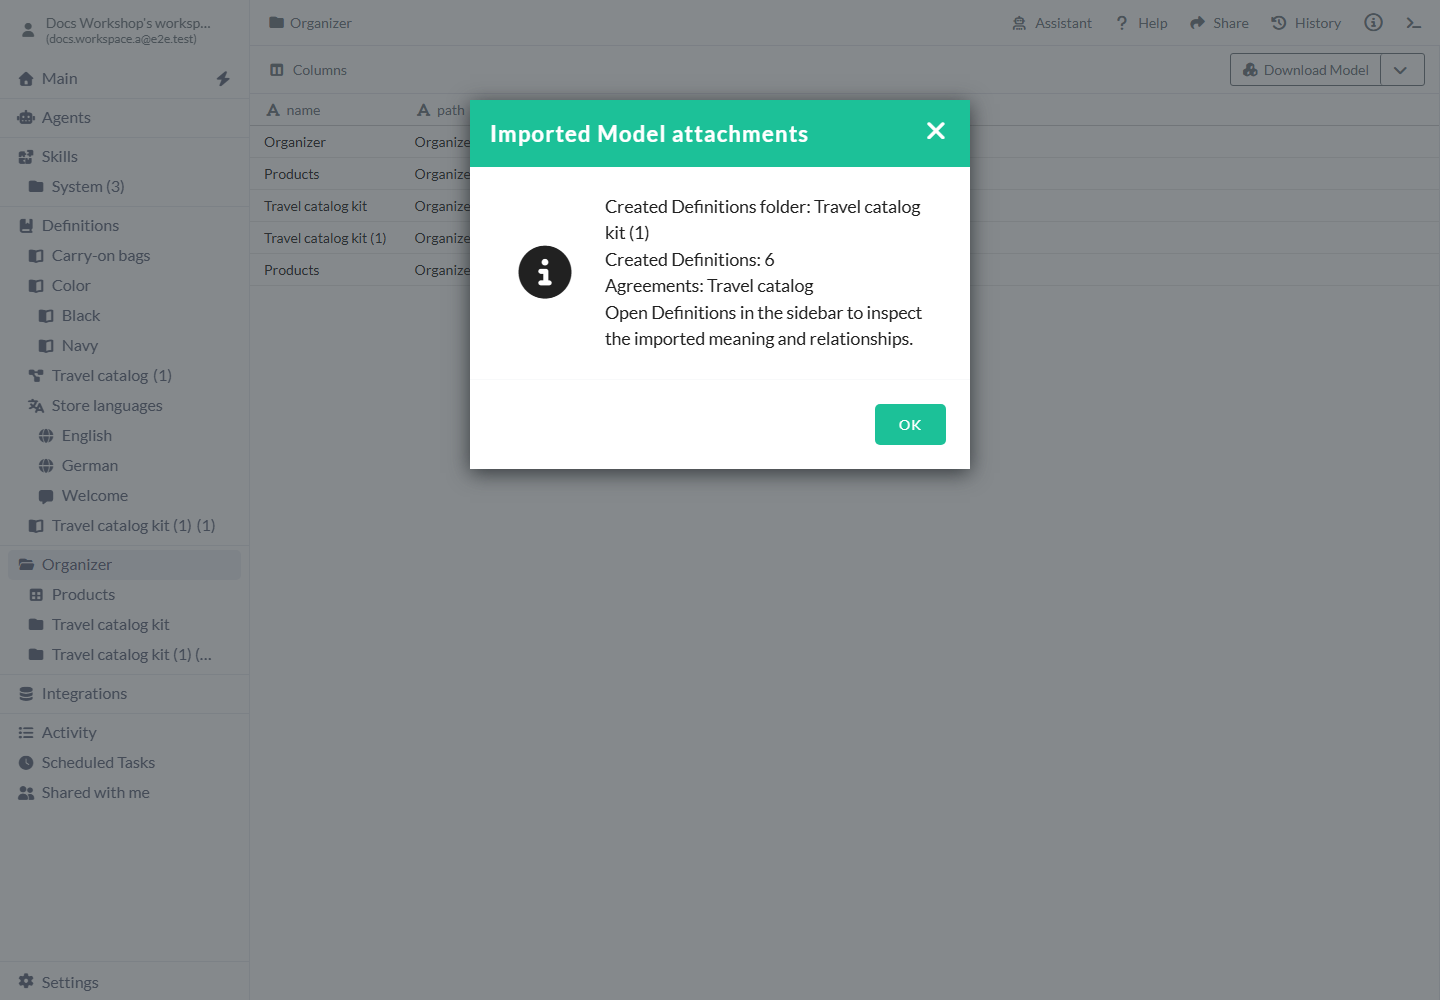
Example: distribute source facts, leave work results empty
Your setup has Supplier products with BAG-01 / Cabin bag / 79 EUR and an old Review queue with BAG-02 / Missing name. In Model Advanced Options → Table rows, keep supplier rows and clear Include rows for Review queue, then Download.
After import, the recipient can start a fresh review using the supplier records and an empty queue. If you keep child records, include the parent records they refer to as well.
Create and use a Snapshot
Use a Snapshot link when you want someone to load this saved version without sending a file. Keep the link private because it gives access to the package.
- Open the arrow beside Download Model and choose Create Model Snapshot.
- For attachments or row choices, use Model Advanced Options → Create Model Snapshot, review the choices, then Create Snapshot.
- Copy the resulting load link privately.
- Open it in the destination workspace and complete the import choices.
Limits and common mistakes
Inspect the import report and destination before starting work.
- Review each imported Agent’s access, connections and operating limits. Saved schedule and Responsibility intent arrives inactive.
- Set up imported connections with workspace credentials, then enable and test them deliberately.
- Choose Create an independent copy for a fresh starting copy, or select an installed target for a supported update.
- If a dependency or target has changed, reopen the import to get current choices. Match the exact item rather than its name alone.
- If an import fails after some steps, review the reported created items and cleanup before retrying.
- Publish your Site after reviewing imported changes you want to make live.
- Renamed Folder paths do not always refresh in Model Advanced Options yet.
Related articles
- Organizer - destinations and Folder navigation.
- Definitions - Describe shared terms and data structure.
- Agents - Choose access, instructions and operating limits.
- Skills - saved procedures and resource files.
- Integrations - recipient connections and credentials.